We have all seen the Wilton Cookie Shot Glass cookies going around the internet. And I must say, they look super cute. I have been getting a lot of requests to try out the cookie pan and give my reviews. And so, here it is.
To start off, I did not do the Wilton Cookie recipe that they specify on their website for this pan. I did the Original Toll House Chocolate Chip Cookie recipe. However, I did bake them for 17 minutes as stated in the Wilton recipe.
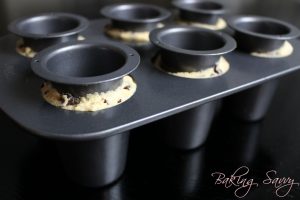
I first started off by washing the pan and the inserts. Remember, always wash your utensils before using them.
I then used a black ice cream scoop to measure out 2 tablespoons of dough per cookie cup mold. I placed each dough in the middle and with the insert, slowly pushed the dough down. This caused the dough to rise up around the insert. After I had placed all the inserts into the dough, I then took the mold and flipped it over onto the counter. I then evenly pressed the mold down, in order to get all the inserts to be in uniform with each other in regards to the cookie cup shapes.
If you happen to have dough that has been overfilled in the mold, take a small knife and trim the top. The dough should be flush to the molds height.
Bake in the oven for 17 – 19 minutes. Mine were done by 17 minutes. Any longer and they would have burned. But then again, everyone’s oven is different. The reason for trimming the excess dough from the border is because the cookie dough will rise in the oven. If I had left it as it was, the cup would have been deformed. Trust me, I did the experimenting for you.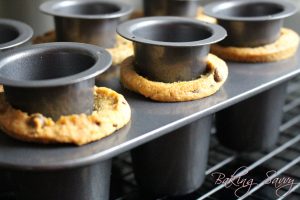
After they had been baked, I transferred the mold onto a cooling rack. You will notice that the cookie dough has risen and is over the cookie mold. While the cookies are still hot, take the same knife you used earlier and trim the border of the cookie cup, just to the edge.
Allow the cookie cups to cool off. This will take about 10 minutes, or until they are cool to the touch. Once they are cool, you are ready to unmold them from the cookie pan.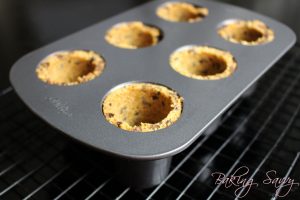
Now we move on to melting the chocolate. Put water in a small pot and simmer. Then place a bowl on top of the pot. Make sure that the bottom of the bowl does not touch the water. This is known as a double boiler, a bain-marie, or simply as a water bath. Then place chocolate chips in the bowl and stir. As the water in the bottom pot simmers and creates steam, it heats up the bowl and melts the chocolate.
Once the chocolate has been completely melted and free of chunks, you then take a clean brush and coat the inside of the cookie cups.
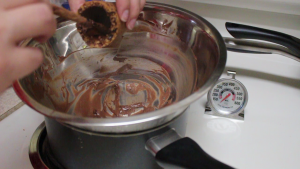
Another way that you can coat the cookie cups, is by filling it with melted chocolate and rolling the cookie cup until all the sides are covered. Then simply turn the cookie cups upside down over the bowl and allow the remaining chocolate to fall out.
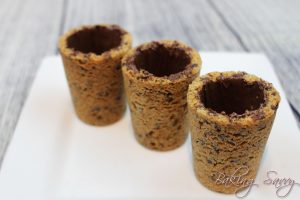
Once you have coated all the cookie cups, place them in the freezer for about 10 minutes for the chocolate to firm up.
After the chocolate has hardened, you are ready to fill them up with whatever liquid you want. I personally enjoyed the traditional milk and cookies approach. With the touch of a little straw cut in half, it definitely gave the cookie cups a real sense a glass of milk, with the added bonus of a cookie cup.
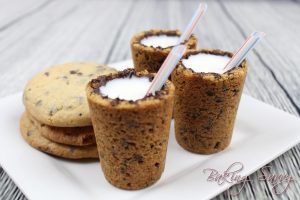
Overall, I give this a big two thumbs up. Simply delicious and the whole milk inside the cookie, was a modern twist to the traditional milk and cookies grandma use to make.
