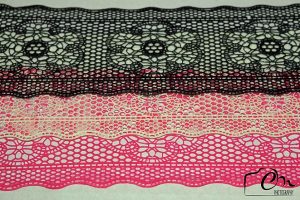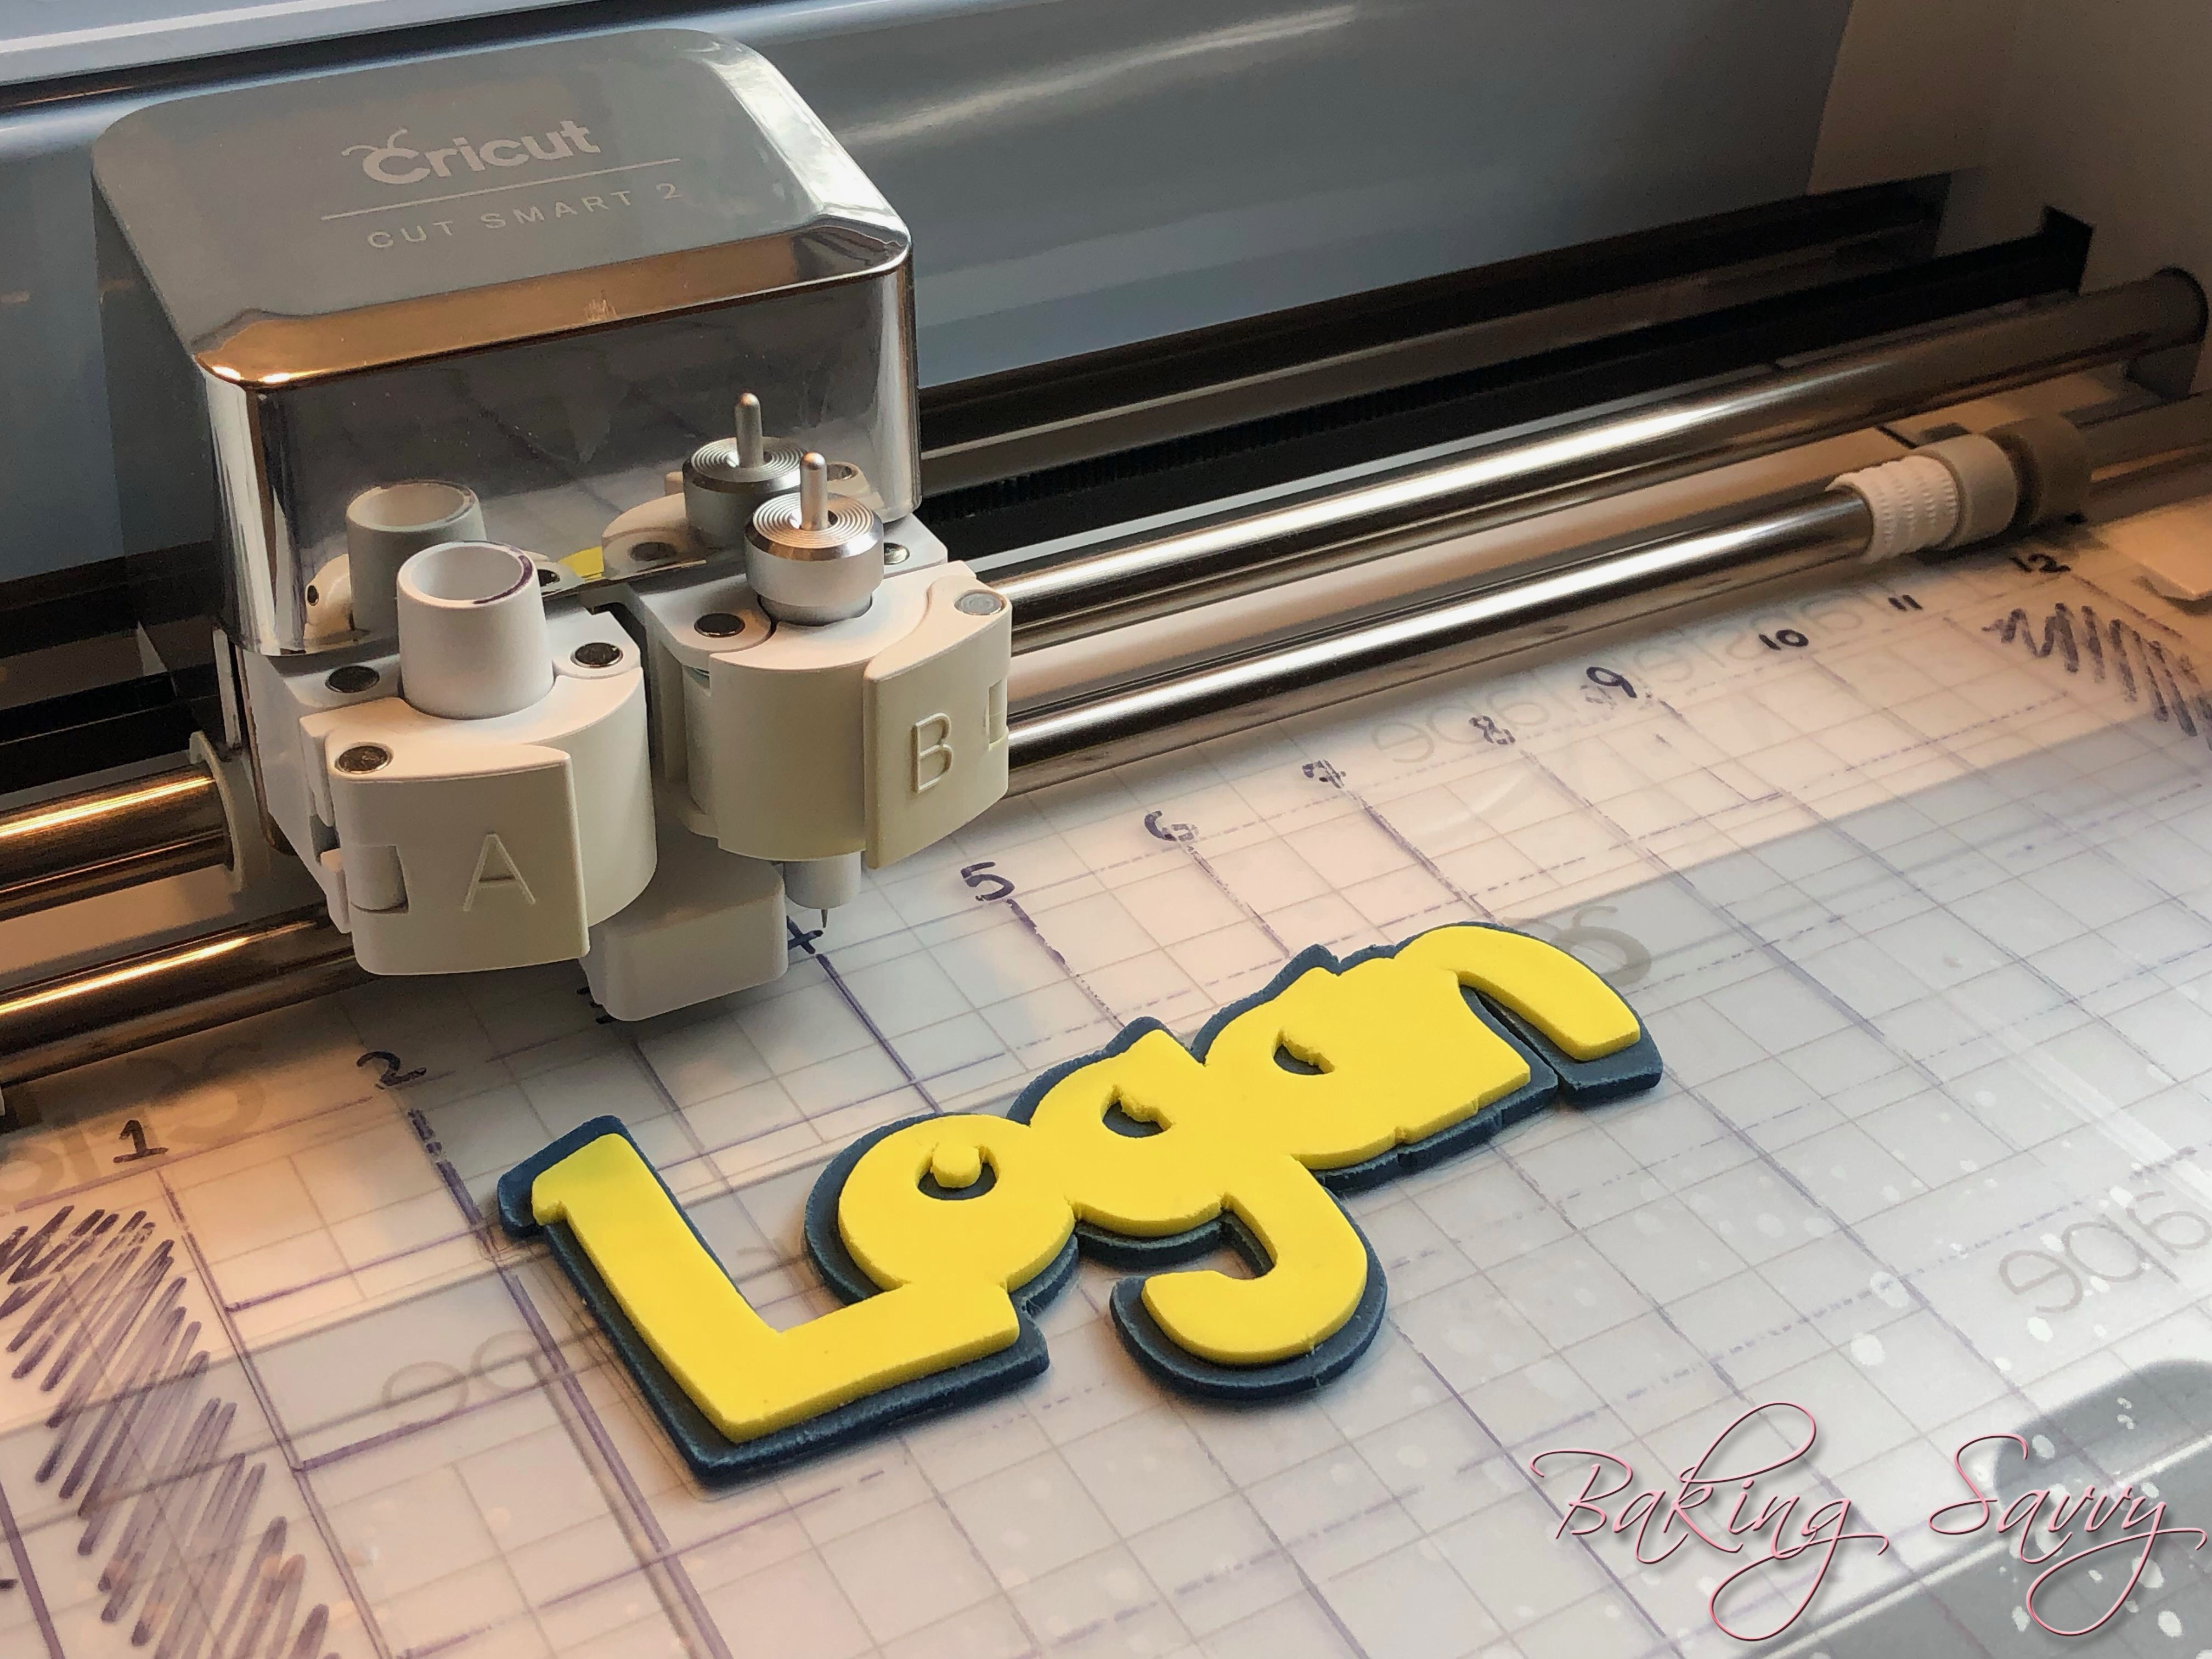
Remember way back when the Cricut company came out with the Cricut Cake machine? Well, those days are long gone, and I find myself yearning to go back to the days when I could make custom fondant designs. But unfortunately the Cricut Cake machine has since been discontinued.
Now, for me, I already had a Cricut machine. I did not want to invest in a new cutting machine (that was not a Cricut) and buy an additional accessories package to go with it. This would have run me close to over $400.00 just so that I could cut fondant decorations. I was determined to find out a better and budget friendly way to be able to create elaborate fondant designs, without breaking the bank on a new investment. And so, my search for a Cricut Cake alternative began. (By the way, I only spent about $15.00, if that, in being able to use my Cricut Machine for fondant)
I searched Google high and low looking for answers. I knew I needed a homemade version mat that did not have the sticky residue as the Cricut mats do, for I would be using a “food” product on it. Before everyone one jumps down my throat about it, the Cricut machine isn’t approved by the FDA to use with food. However, there is an alternative to using it for “food products”. That is, if you use certain pieces solely for “food products” such as the mat and blades.
A “Food Grade” Mat
First, I needed to figure out how to use a “food” safe mat that would not only fit my Cricut machine, but that would be of “food grade”. I searched the internet for hours looking for alternatives and decided to go with a chopping mat.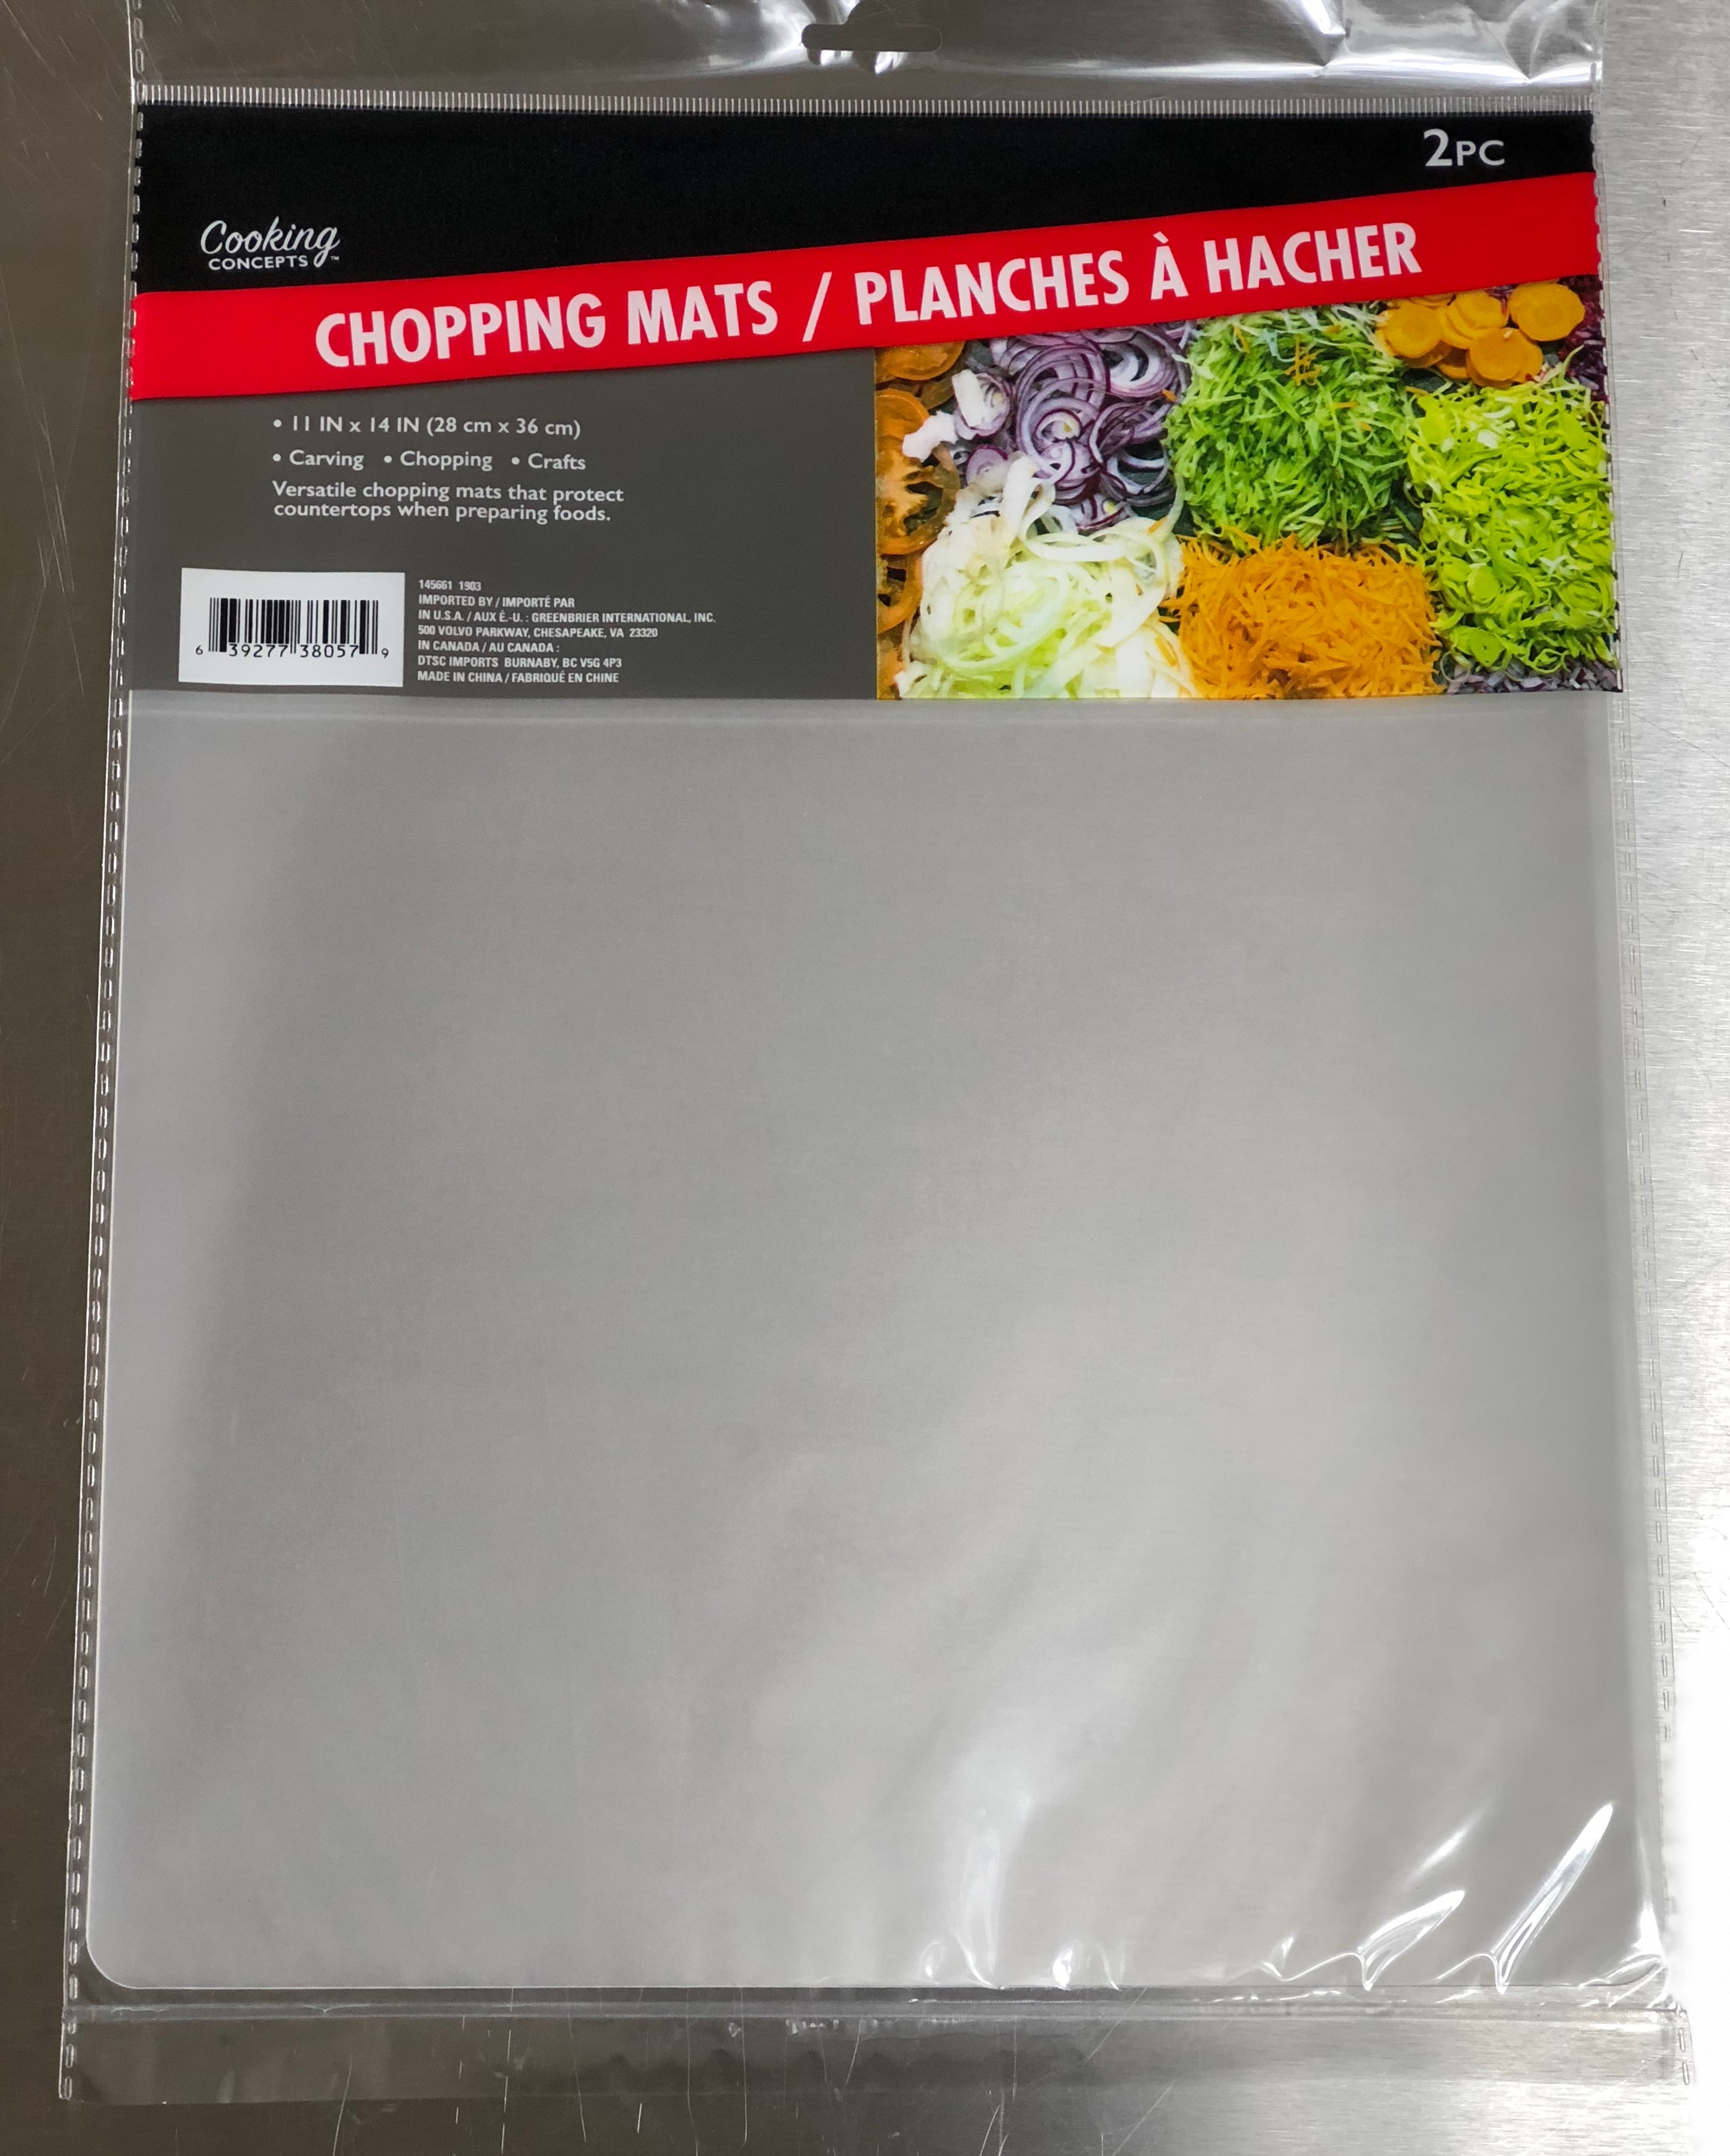
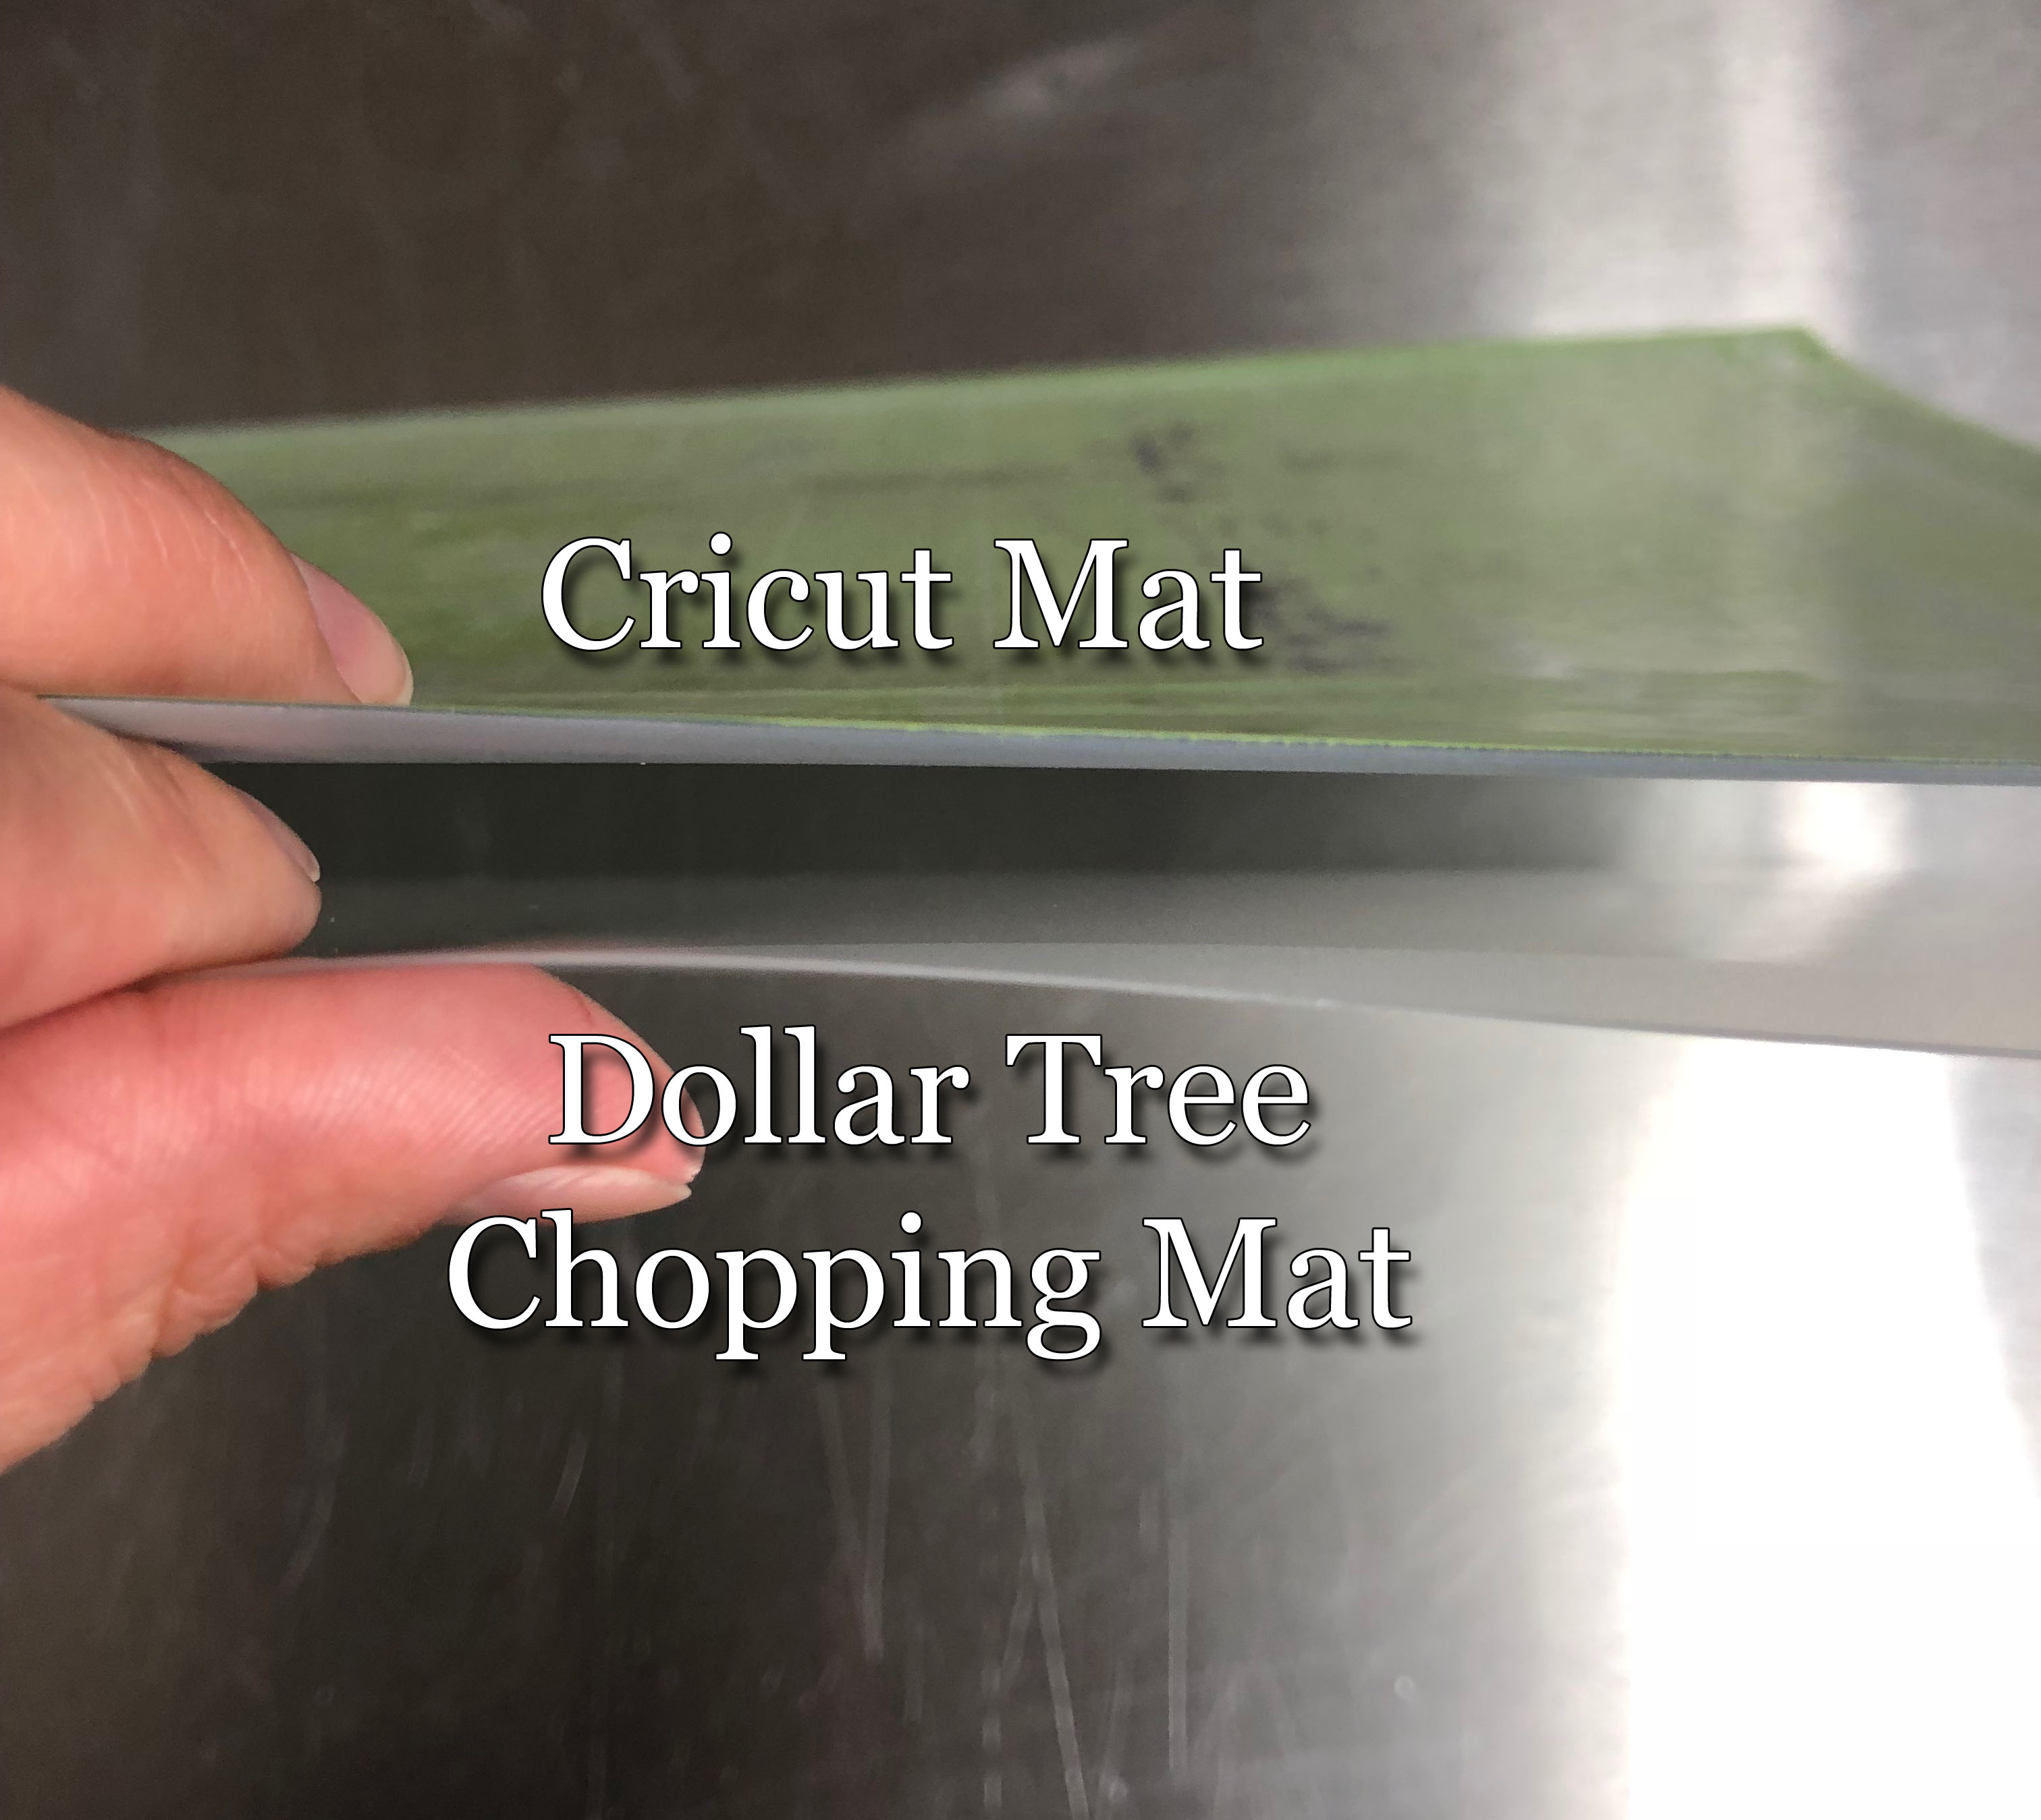
The Dollar Tree sells chopping mats that come in a pack of 2 for $1.00. So basically, I would use a $0.50 cutting mat to start off with. Nice way to budgeting on this project. The chopping mats are 11″x14″. The standard Cricut mats are 12″ x 12″.
As you know, the Cricut mat has a grid guideline that shows you were the first cut will begin. Once you insert the mat, you can see that the rollers in the inside of the machine, roll over the grid lines. Now this would not be a problem when working with other material types such as paper or vinyl, however its different when using fondant. You don’t want the rollers to come in contact with the fondant. For this, we need to go 1″ in on both side of the mat, to avoid the rollers from coming in contact with the fondant and getting stuck inside the machine.
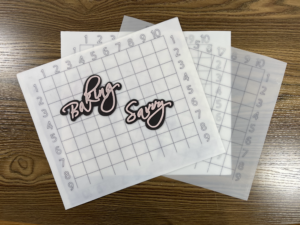
To begin making my mat, I had to trace the Cricut mat onto the chopping mat. I chose a side to be my backing. I then paired up the Cricut mat and the chopping mat and traced out the grid guidelines using a ruler and a sharpie. (Choose the side that is shiny as your back side) Remember that you will be flipping the mat over, so when you go to write out the inches, make sure to do it backwards. (Yes, I made this mistake the first time). Keep in mind that you will also need to cut of the extra 2″ of the mat to make it a 12″ x 11″.
Going back to what I said about keeping 1″ in on the grid to avoid the rollers from touching the fondant. I shaded this portion in to indicate that this area was off limits.
Your final mat will be 12″x10″ with a cutting area of 10″x10″. I know I know… You are losing 2″ on each side. But I prefer to do my designs a little bit at a time for precision.
Choosing the Right Blade
Now that I had my mat, I needed to come up with the perfect settings. The next thing to look into was finding the right knife for cutting the fondant. It took me several trial and errors finding the right blade and this is what I came up with.
Because I needed to get fine details, I chose to go with a Cricut Cake blade and the Cricut Deep Cut blade. As you can see here, the Cricut Cake blade is slightly larger than the Cricut Deep Cut blade. 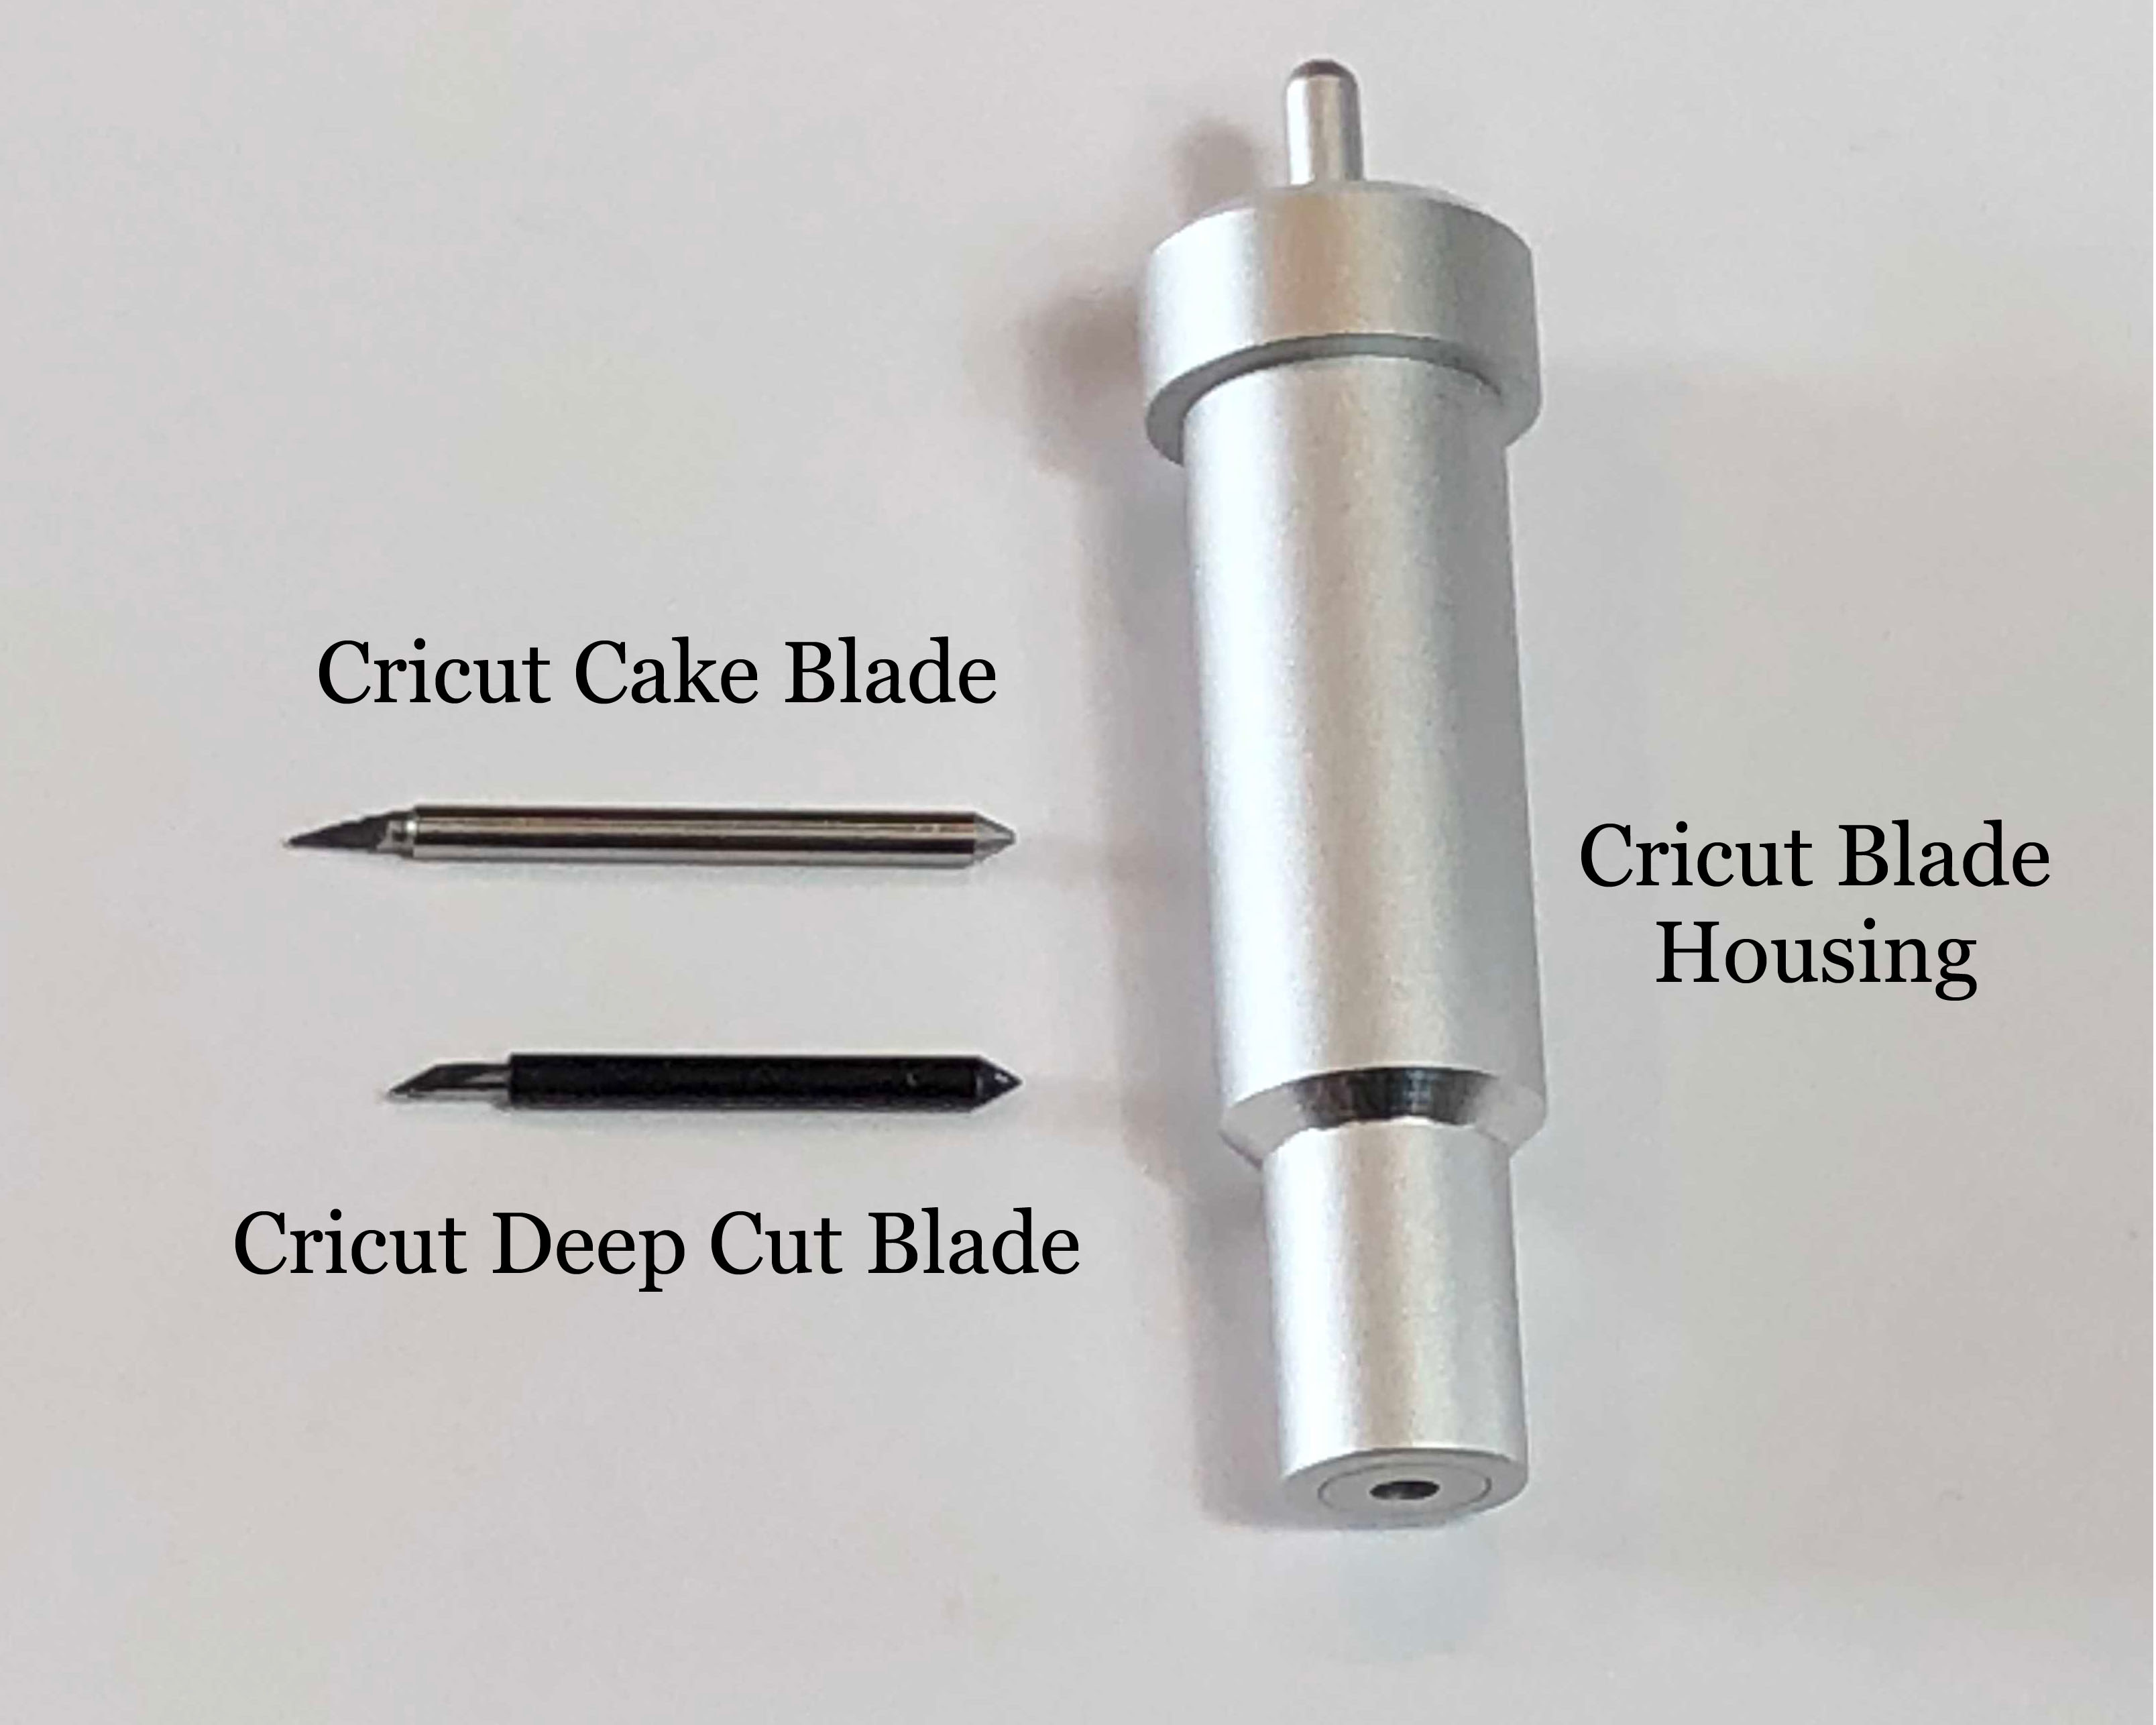
The Deep Cut blade goes with its own blade housing unit which comes in black. When using this blade, I saw that the fondant would snag quite a bit and I had to keep adjusting the thickness of the fondant. I would need to roll out the fondant less then 1/8″ thick, and this made my fondant almost paper thin, and would break very easily when I tried to transfer my designs off the mat. I am sure that with a lot of trial and error, this would be a good choice, however, I opted to go with the Cricut Cake blades instead.
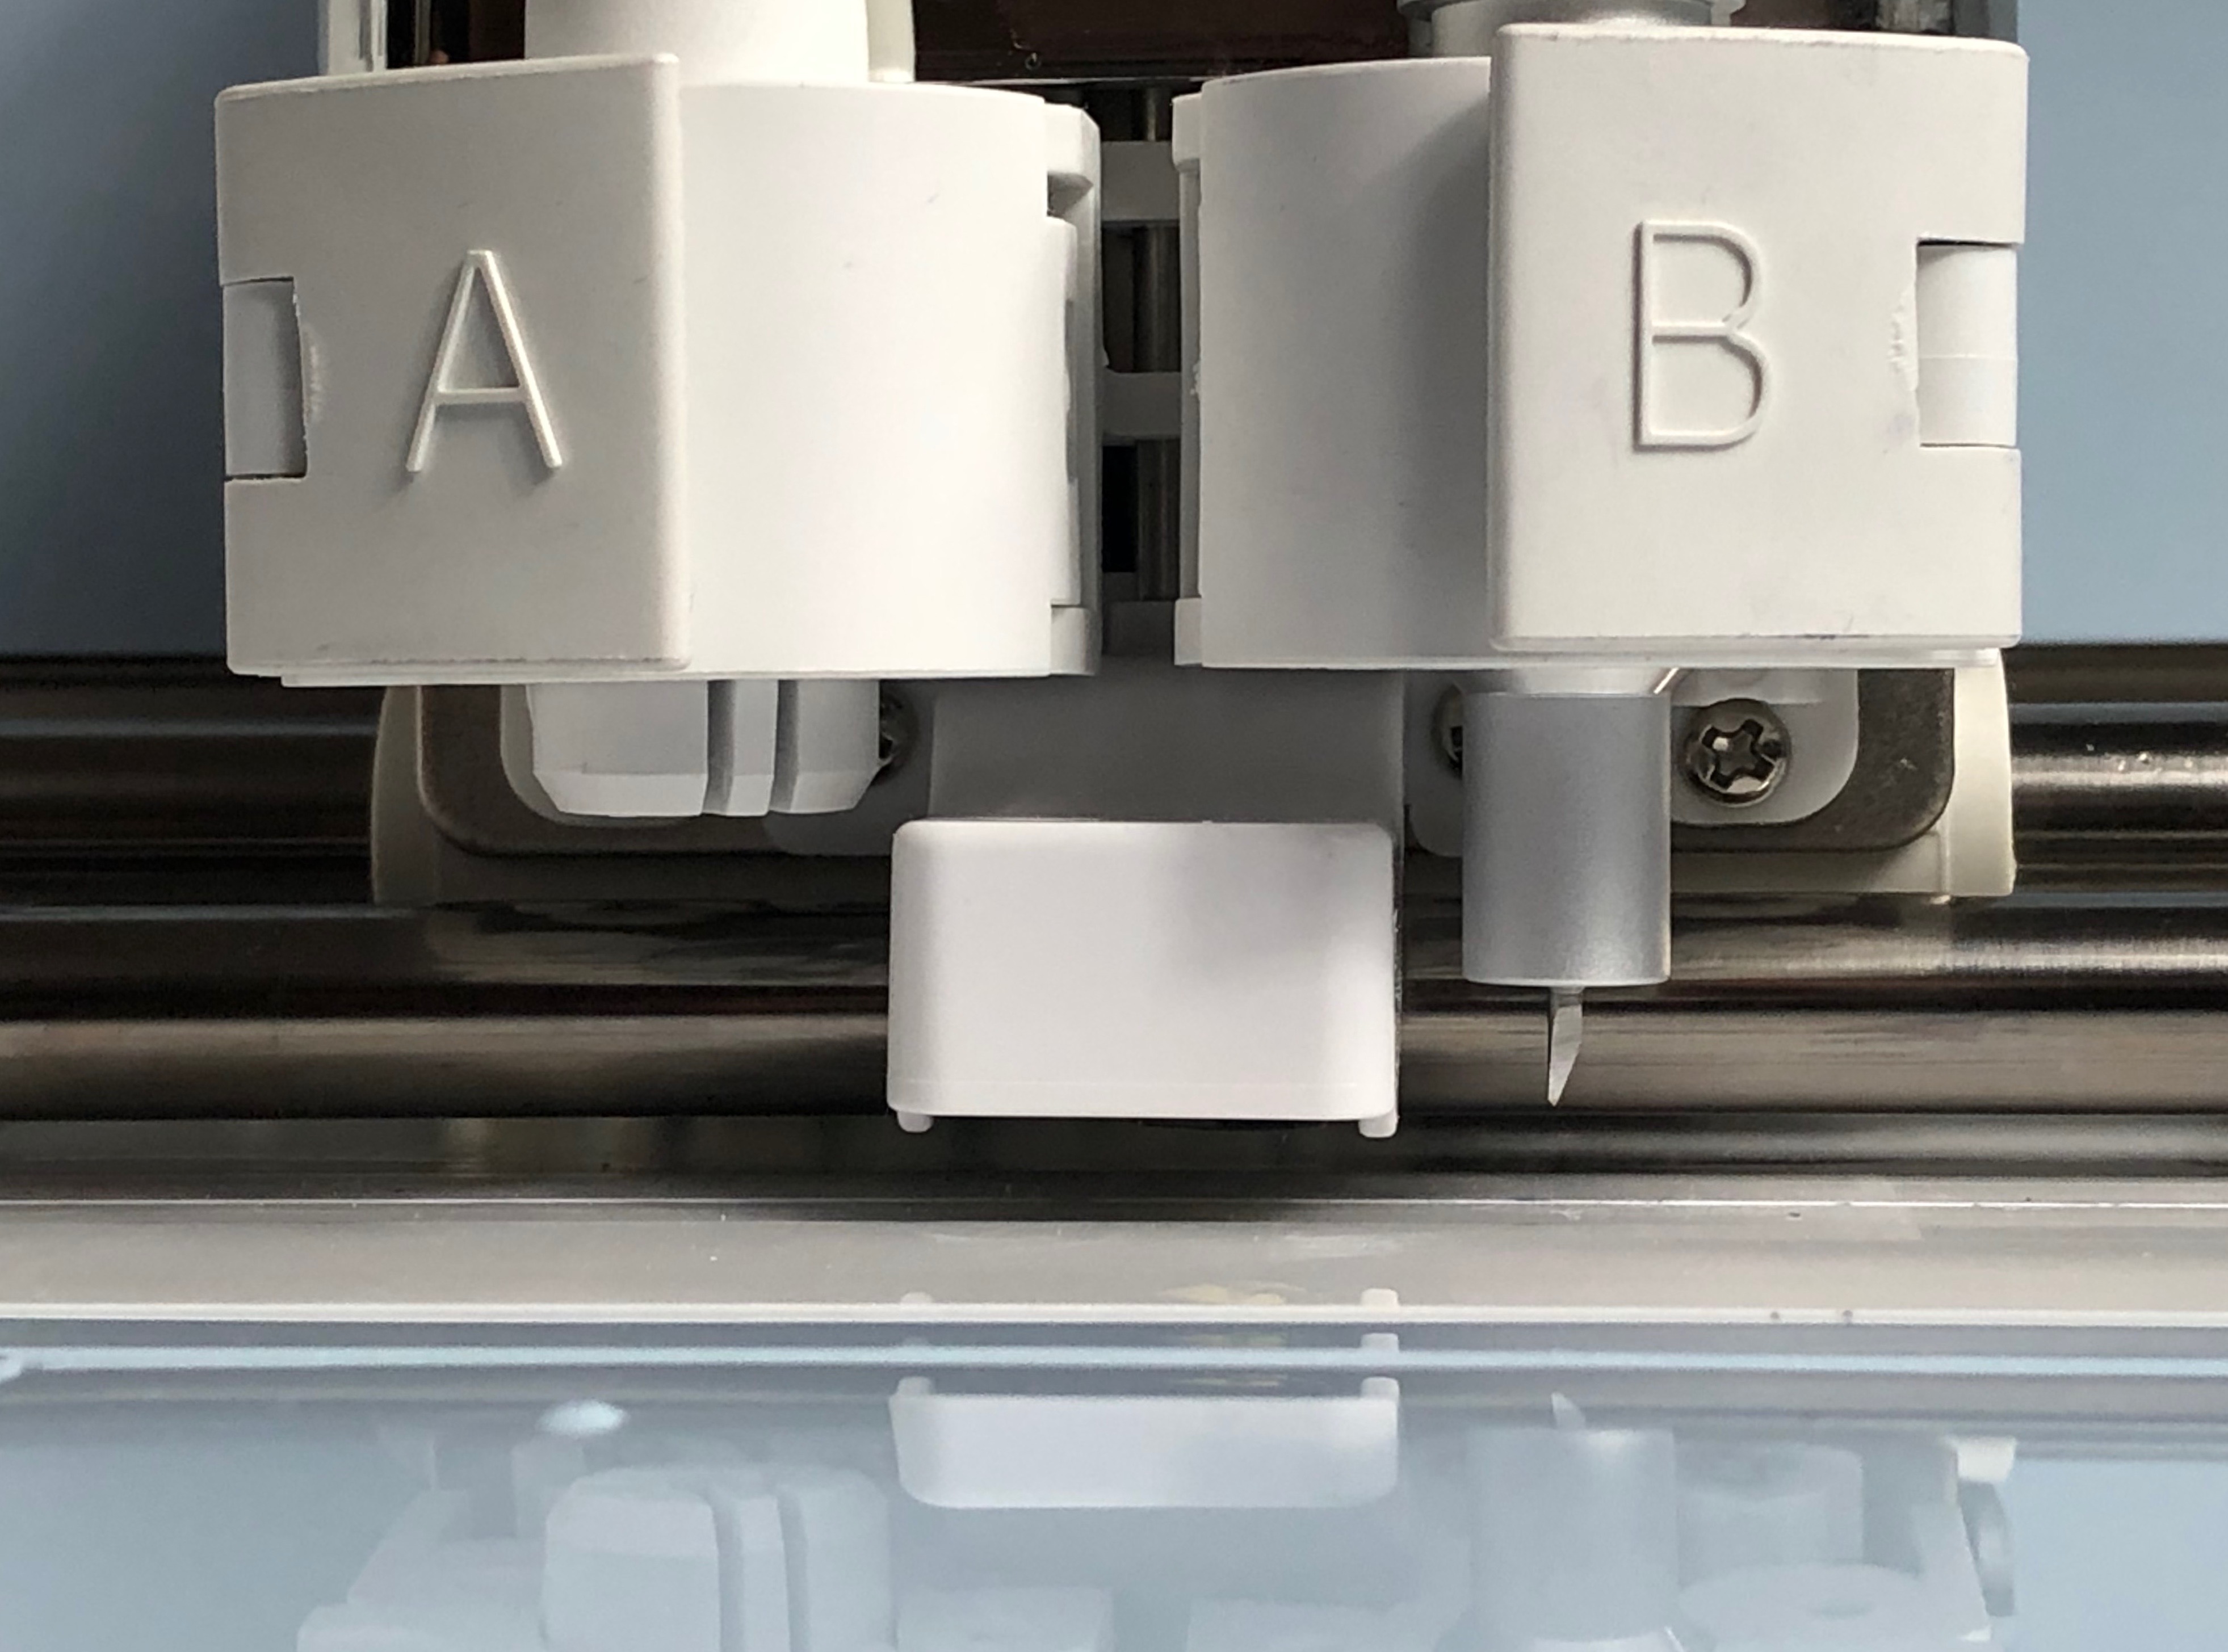
I used the Cricut Cake blades with the Fine Point Housing that came with my Explorer Air 2 machine. The blade extends far out of the end tip. When I placed the housing in the machine, the blade would touch the mat right away. To make it work, I had to place the housing in the machine, and slightly lift it out by about 1/8″ – 1/4″. I measured this by squaring up the tip of the blade to the bottom portion of the Cricut light and then closing the clasp at the height that I wanted. This gives a nice gap between the mat and the blade so it does not snag the fondant when the housing goes down to cut. This worked out perfectly!
The Deep Cut Blade with Housing cost around $14.00 New. I already had one so I did not cost this into my budget.
The Cricut Cake blades I found on eBay. They cost me $12.00 for a pack of 2. I only needed the blades, for the housing is for the discontinued Cricut Cake Machine and is not compatible with the new Cricut machines. Finding these blades is a little hard, but if you can find them, be sure to stock up.
Inserting the blades into the machine
When you open your Cricut machine, you will notice that there are (4) small white wheels the have ridges on them. You will need to move them over, so that they do not score your fondant. To do this, move over the wheels to the right of the machine.
Quick Tip: See How to Move Them Over Here
Next, place the blade and housing inside Part “B”. Make sure to leave that extra space between the mate and the blade if you are using the Cricut Cake blades and Fine Point housing. If you are using the Deep Cut blades, you do not need to do this step.
Using the Cricut Design Place
Once you have everything in place, you are ready to create your own design. I like to use the Cricut Design Space. Although it is limited, I combine it with Adobe Photoshop to be able to get custom designs. For this, I like to use a SVG file. It helps to have images converted to SVG for they are easier to cut out. There are many resources online that are free for converting images.
As far as fonts go, I get many of my custom fonts from dafont.com. They tend to have the latest font types and come in True Type or Open Type. Both font types work well in Adobe Photoshop for making custom designs. Also, they will automatically upload into your Cricut Design Space. When selecting a new text, simply go to the Font drop down box and go to the “Systems” tab. There you will see all your fonts that are saved in your computer.
When making custom images in Adobe Photoshop, make sure to save the files as PNG and not JPEG. This helps when uploading into the Cricut Design Space and editing the background. Adjust the height and width that you want the image to be. Since I am working with fondant, I have to keep in mind that when I go to print, that I move my designs 1″ over. That way, when it goes to cut, the cut doesn’t begin at the top edge where the rollers go over the mat.
Fondant Cutting Settings in Cricut Desgin Space
This took a lot, but I mean a lot of trial and error. After about 2 hours, I was ready to give up, but being persistent as I am, I kept trying it out. I kept in mind that I did not want to make that huge investment in a new machine just so I could make custom fondant designs.
I used everything from light pressure, to hard pressure, Fine point to Deep Cut blades, other pre-made material settings, you name it. I was determined to make this work. I then came up with the perfect combination.
I was able to create a custom setting using the Deep Blade Cut with the pressure at 170. This seemed to work the best for it was good enough to cut the fondant, but not hard enough of a pressure to cut my mat all the way through. It barley scratched the surface. You may need to adjust these settings. Different fondant brands have different consistencies. I mostly use my DuraColor fondant or Satin Ice for my creations.
Be sure to have the “Fast Mode” turned off. You do not want to rush fondant work. Let the Cricut cut at its normal pace. Also, have the Multi-Cut turned off. You won’t be needing to trace over your design several times to get the perfect cut.
Make sure to create a “Custom Cutting Setting” and save it in your “Favorites” profile to access it quickly.
Preparing You Fondant
Now that I had my mat and blade picked out, I needed to work on getting my fondant the right consistency. I found that using the blue rings for my rolling pin, that measure approximately 1/8″ thick worked the best. When I placed my fondant on the prepared mat, I would roll it out again and to get just the extra thinness that I needed to get perfect cuts.
If you have a handheld pasta roller, this will cut your time a little bit. I used the number 5 setting that made my fondant thin enough to go under the Cricut machine without having it touch the roller cylinders. If you have a KitchenAid Pasta adapter, then you can use the settings 7 or 8. You want the fondant to be thin, but not so thin that when you place it on the mat it tears when you pick it up.
Once you have chosen the thickness of the fondant, now it is time to prep your mat. Rub a little bit of shortening on the mat using either a brush or your hands. Take a piece of towel paper and remove access shortening. You want just a little bit of the shortening for the fondant to adhere to the mat.
Knead your choice of fondant and place it on your mat. Make sure to not have any air bubbles underneath the fondant for this will cause your fondant to snag in the blade. Smooth the fondant out and be sure to cut off the extra fondant that goes beyond the top edge, as well as the sides of the mat (the “Off Limits” area). Once you have the blade in place and fondant on your mat, you are ready to cut.
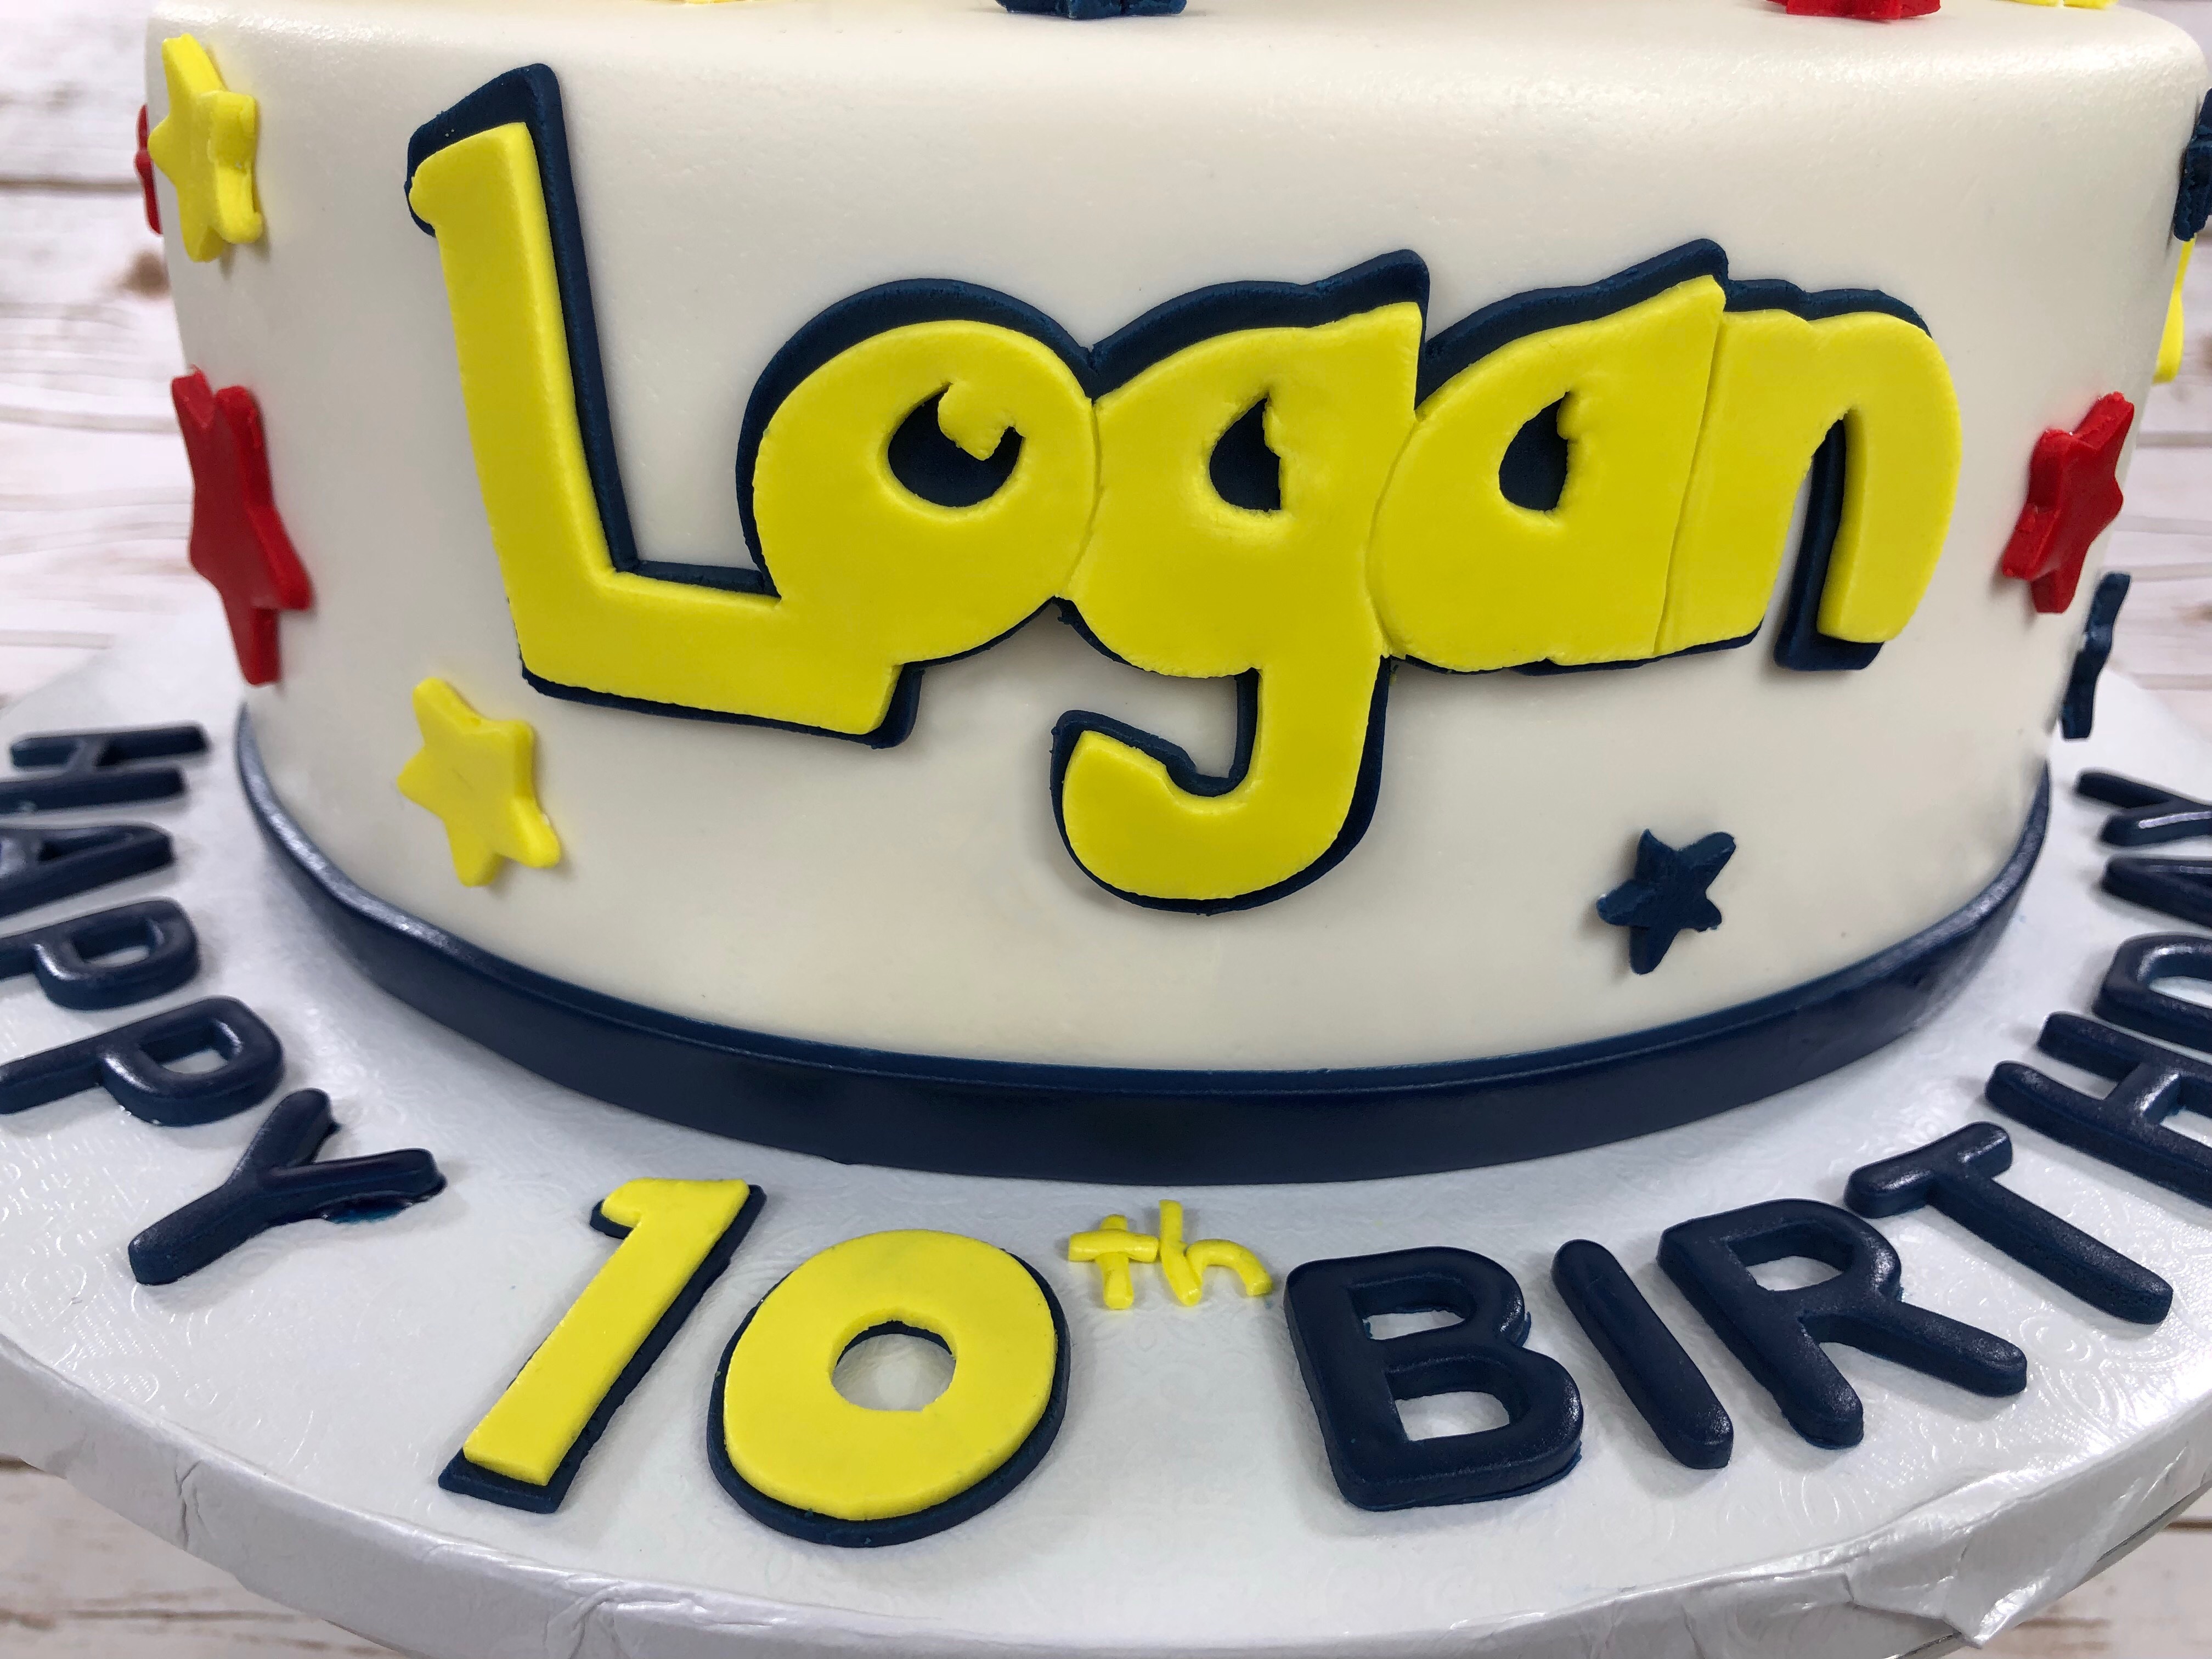
Now it is time to load the mat, and get to creating your own designs.

Leave a comment below and let me know what worked best for you. Did you use the Deep Cut blade or the Cricut Cake blade? Were your settings the same as mine? Have you used other fondant brands using this technique? Let me know what works for you.
Share with us your creations and I will post them on social media for everyone to see.
